So far we've covered a lot of really important elements of filmmaking, from idea through execution and even piecing the product together in editing. You should feel comfortable with the basic flow of taking a concept for a movie and making it a reality through planning, shooting, and cutting it.
However, there is one area that we haven't really gotten hands-on with, an area that will drastically improve the quality and value of your work in cinema - and which will allow you to use your camera to it's fullest potential as well as add a whole new creative level that can shape your story.
That area is lighting.
Just by the nature of the work, you've already dealt with lighting in one way or another. A lot of you commented on the quality of lighting in your footage during the scavenger hunts, particularly in stuff that you shot outdoors. The sun is our most natural and greatest light source - and it is a huge asset to our filmmaking ability. However, there are a number of other tools that can work to create amazing lighting effects and set ups as well -- including ones that help you take more control over how you use the natural light available to you.
The big concepts: Cameras are not nearly as nimble or sophisticated as our own eyes and brains. As a result, if we want to create a look for our movie that looks appropriate to our eyes, we have to do a little extra work. The difference between a well-lit scene and an unlit scene can look something like this:


And that's just using a single additional light! When you really start to use a few lights and think about the way they blend together you can achieve control with amazing results.
There are a number of factors that affect the light intensity, shape, color, and the effects it creates. This has to do with what you have available in your set of lighting tools. Let's take a look at some common options:
Type of light:
The type of light you use will affect how powerful it is and how the light is cast in terms of shape and color. For video, you have a number of different options.
Practical lights - these are lights that appear within your scene. Usually these are things like table lamps. You can also think of them as the things you have available to you for use in instances where you don't have access to a professional lighting kit. Things like lamps, globe-light/chinese lanterns, and any built in lights can go a long ways towards boosting your image.

Tungsten video lights: There are a lot of different types of lights that are designed specifically for use with video and/or film. There are two main types of color temperatures in video: tungsten and daylight. Tungsten is at a specific color temperature that casts more of an orange-yellow light, similar to what you might find in indoor lighting with regular household bulbs.
These video lights can output quite a bit of light, and in some cases can be quite harsh. Depending on the type of bulbs they can also get very hot, and you have to be pretty careful about how you handle them.

Daylight video lights: Some video lights are daylight balanced. We don't perceive it easily with our eyes, but the color temperature of natural daylight is significantly more blue than a lot of light that comes from the bulbs we use. As a result, special daylight-balanced film lights have been created for use in film and video. When you use these they match with the light being cast by the sun - so they're great for use outdoors. You can also use them to create the appearance of daylight - such as light coming through a window on a set where there is actually no exterior light.

If you have access to a tungsten light, but need to create a daylight effect you can put a blue gel in front of the light. Similarly, if you have a daylight balanced light and need a tungsten color effect, you can use an orange gel. Gels are transparent pieces of thin plastic that can handle high temperature exposure, and are used all the time in creative lighting:


The shape of your light can be affected by a number of different factors. Some lights are very harsh, and others are quite soft. Softer lights are nice for creating a more even spread of light and more harsh lights can be very effective in creating dramatic and highly contrasted looks. If you have a naturally soft light, you can try to shape it into something more directed for dramatic effect, and if you have a naturally harsh light you can try to soften it up.
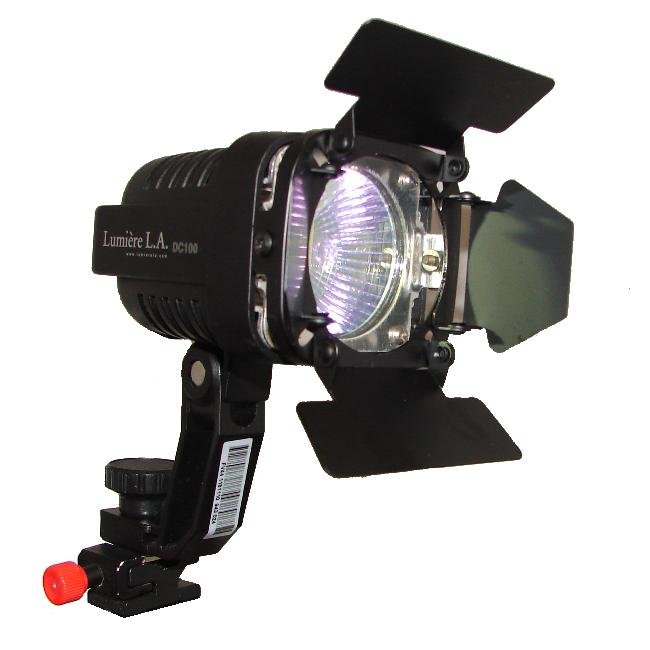
Below are some common light types for film video. These are professional and semi-professional lights, but please bare in mind that any light help to will provide you with the opportunity to illuminate your scene and be creative with what you want:
Incandescent lighting - this is the same concept as used in a household bulb - but in film/video lights the bulbs are usually much much more powerful and create a mush more intense light cast. Depending on the type of bulb, these can be relatively energy efficient or require a decent amount of power.
HMI lighting - Usually, these are also capable of very strong output. They can also run pretty hot to the touch and can heat up a set.

Fluorescent lights - florescent lights like those used in offices can cast a very even, soft light. However, they are not ideal for use in film because they tend to appear with a flicker and cast a sort of green color.
Kino Flo lights - this is a light very similar to traditional fluorescents, but are made to be used in video. They resolve a lot of the issues that traditional fluorescents have, run quite cool and are relatively energy efficient. They are also available as daylight balanced.
LED lights - LED is a newer technology that is being used more and more for film/video. They are very energy efficient, they are quite soft and even in their cast, and are usually pretty light and easy to set up. Some of them have color issues where they appear sort of green, but high quality ones are available in daylight, tungsten, or adjustable color temperatures.
Lighting set ups:
There are a lot of different ways to think about setting up your lights for a given scene depending on the style and set up of your location. But for a good general starting place, the fundamental lighting set up to know and learn is called 3-point-lighting. Using this concept you will be able to create a dynamic scene that emphasizes your subject and lights them evenly without being distracting.
This concept requires three different lights. The Key Light, the Fill Light, and the Back Light. Let's look a little closer at each and what purpose it serves.

The Key Light is just the term for whatever light you use to first emphasize your subject. Usually you want to use a light that can really push on one side of their face in a pretty targeted way - it's the brightest in the set up. A good place to first set up the key light is at about a 45 degree angle from where you have your camera.
The Fill Light is placed somewhere around mirror image of the key light. The fill is usually softer and less intense than the key, and serves to balance the shadows being cast by the key.
The Back/Rim/Hair Light is placed behind the subject, pointed at them. It serves to illuminate the hair and maybe the subject's shoulder from behind, essentially providing the scene with depth and pushing the subject off of the background.
Here's an idea of how each light serves the scene:
You can be creative with exactly how you achieve these effects, but that is the idea behind 3-point lighting -- the most important thing to think about is what you're trying to achieve in your scene and how you might use different light sources to achieve context and emotion. Do you want your lighting to look very natural? More dramatic? Colorful?
Remember, even to make lighting appear natural on film/video takes a lot of work - you can just use what's there because cameras are not as dynamic as our eyes. We have to help them achieve the illusion of a natural appearance.
Here's a great example of how lighting can be an important character in your scene:
Once we reviewed these concepts in class, the students went to work creating some set ups of their own. We had a traditional HMI 3-light-kit that used tungsten halogen bulbs, we had an LED light kit that was daylight balanced, and we also had the whole light grid in BAVC's MPR which is mostly outfitted with daylight balanced Kino-Flo fixtures.
Here's some stills off of the monitor that shows what you came up with:

Before the video lights are on - using only what's in the room AKA work-lights

The Key Light only

Full 3-point-lighting set up using our tungsten kit

A softer look using the light grid (Kino-Flo lights) and LED lighting

The set up for the above look


Using high-key lighting to try and create a noir-style look in black and white
No comments:
Post a Comment